Wednesday, October 28, 2015

Nutella Cheesecake Swirled Brownies

Who doesn't love brownies? I do, but as lately I am trying to stay away from box mixes, I decided to really experiment tonight. The box mix of this recipe is a favorite of mine, so tonight I am giving it a whirl to see if I can make it from scratch! Let me tell you right now, it was worth it. This will absolutely be a go to recipe for me!


What you will need:
Brownies:

  • 1 small container of Nutella
  • 2 eggs
  • 1 cup flour
Filling:
  • 1 8oz pack of cream cheese
  • 1 egg 
  • 1/2 cup sugar

Preheat the oven to 350 degrees. I went ahead and greased my pan so that I could pour the brownies straight into the pan. Put all of the ingredients for the brownies into the bowl and use an electric mixer to mix them until there are no lumps. The Nutella is very thick, so I would recommend using a mixer with this. 


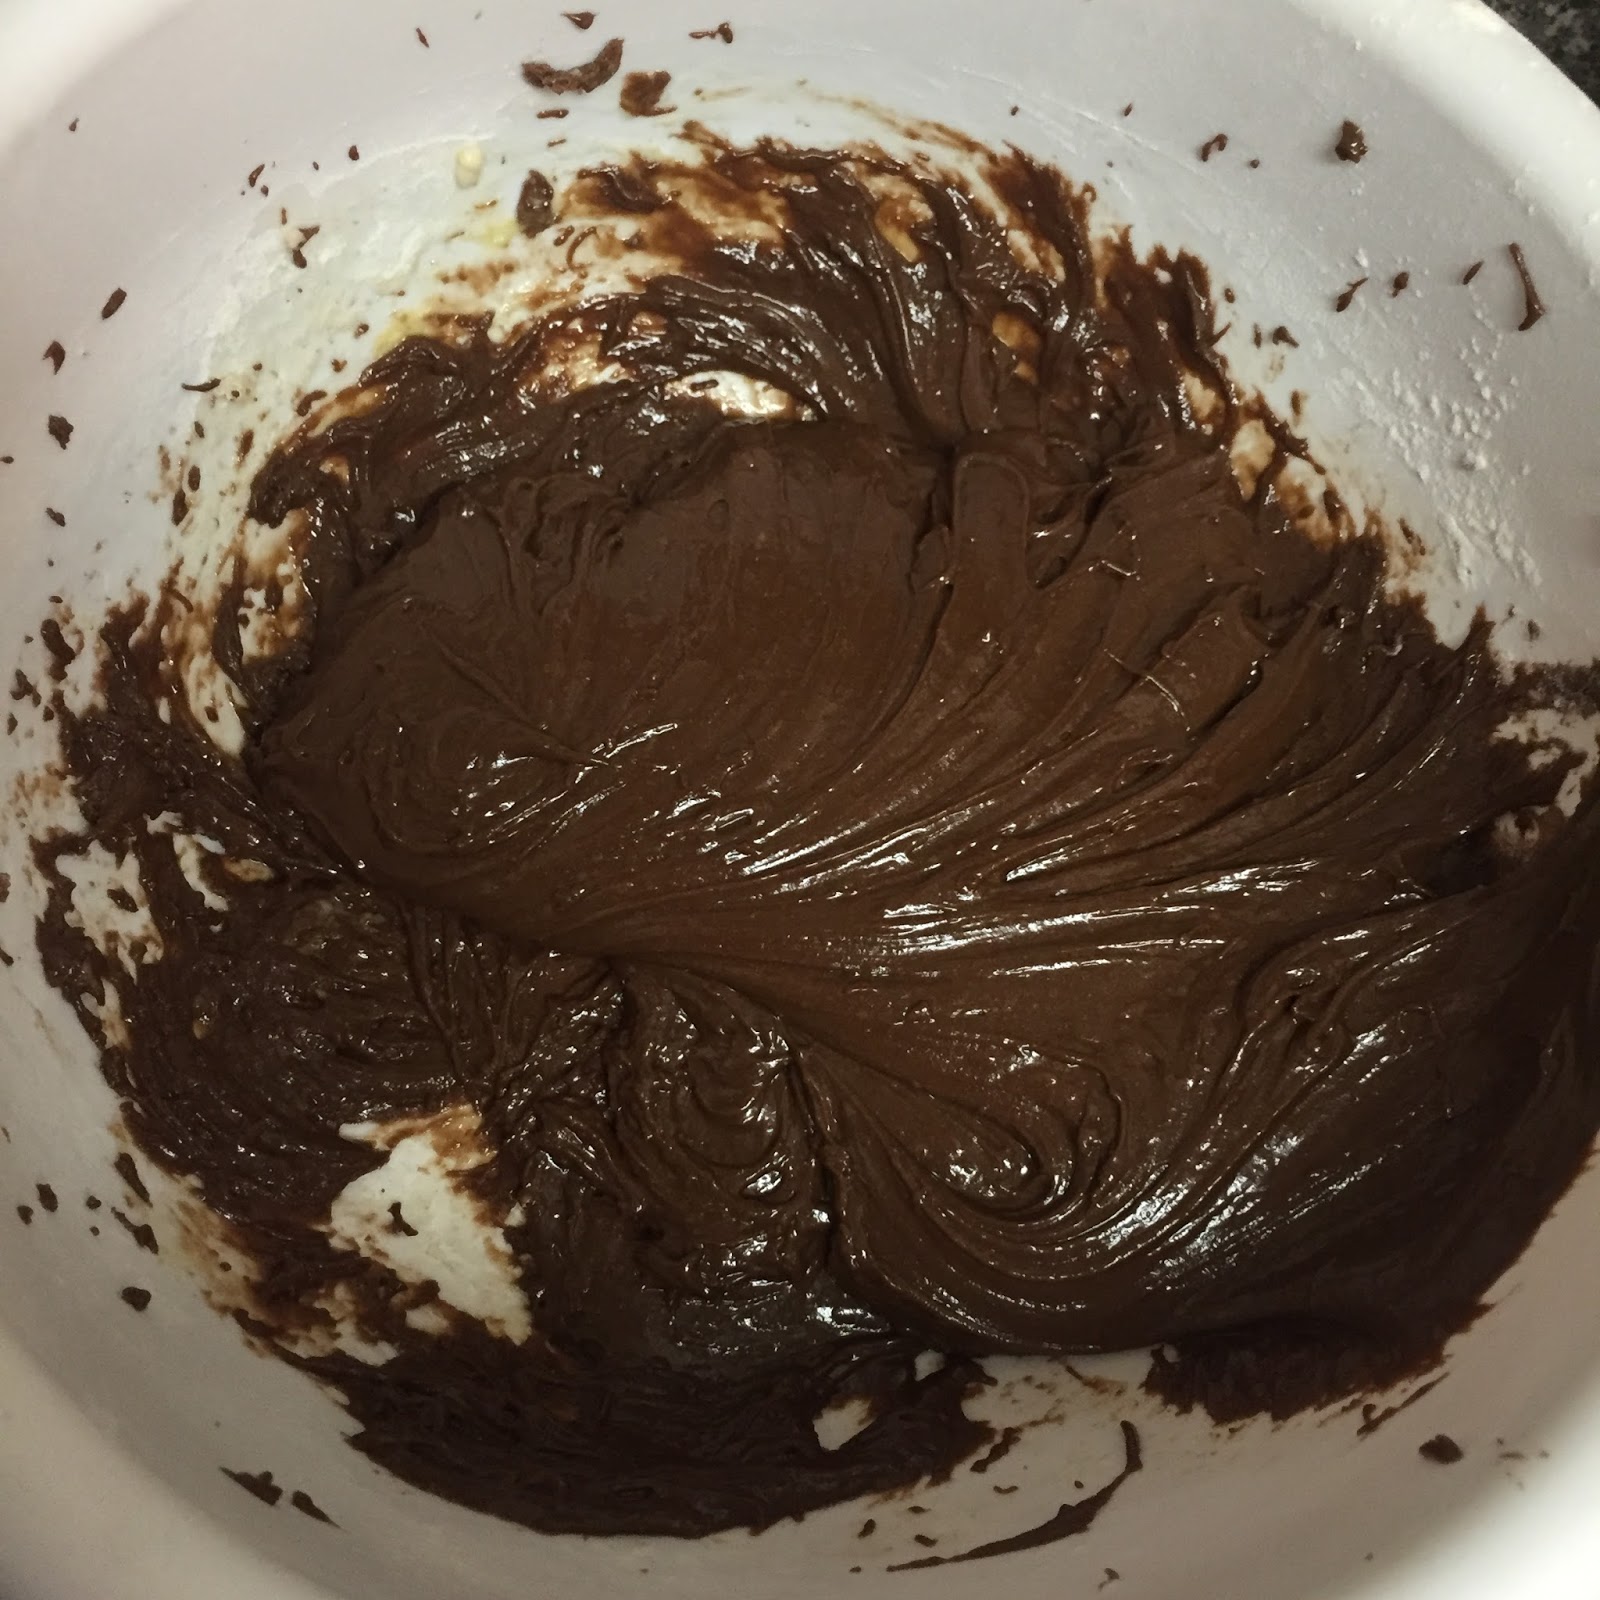
TaDa! Homemade Nutella brownie mix! 


Now set this aside and start in on the cheesecake mix. Stick the cream cheese in the microwave for about a minute to soften it up. Then separate your egg yolk from your egg white. The easy way to do this is with a water bottle, like so:


Squeeze the bottle GENTLY and when you lift it up, wait for the egg white to fall out by itself. 

Put the yolk in with the cream cheese and mix it until smooth. 


Now mix the sugar in with the cream cheese and egg yolk. Whip the egg white with a fork until it thickens and gets bubbles. 


Now with the fork, gently stir the egg white in with the cheesecake mixture. Take your time on this, if you do it too fast the mixture won't be as fluffy I found. 


Now for the fun part. This is personally my favorite. Spoon the cheesecake mix on top of the brownies- no need to try and make it neat and pretty. 


With a knife, swirl the cheesecake mix around gently. I have fun with this part :). It will look something like this when you're done:


Bake in the oven at 350 degrees for 15-20 minutes, depending on how gooey you want your brownies. (Personally I like my brownies soft and gooey) Let them cool completely before cutting and serving so that the cheesecake doesn't crumble. 


Thanks for reading! Don't forget to follow, comment, like and share! 


Tuesday, October 27, 2015

Sugar Skull Pumpkins

Lately I have been doing a lot with these sugar skulls, and even though they're supposed to be for the Day of the Dead I decided to get creative and see what I came up with! This is one of the pumpkins I did this year:


 What you will need:

  • 1 pumpkin
  • Carving tools
  • Black paint
  • Puffy paint (I used white but any color you prefer) 

First things first, get all of the insides out of the pumpkin and wash the outside off so that the paint will stick. Do yourself a favor and do this to the back of the pumpkin: 


Even with the back of the pumpkin out, the light still shines through the front of the pumpkin very well. 

Next, paint the pumpkin black, it makes the puffy paint stand out better than other colors I tried. If you don't let the black paint dry well, it will rub off very easily when you go to draw with the puffy paint.


Next, carve out the eyes and the nose of the skull. These will be the only part of the face that is carved out. I tried carving before I painted and the paint ended up seeping into the insides of the features, carving afterwards works much better in my opinion. 


 My circles aren't perfect, so don't stress if yours aren't either. The nose is just an upside down heart and I found it was much easier to flip the pumpkin and do the heart right side up. ( Just a tip)

Now for the designs. Sugar skulls look intricate and detailed, but if you take it one step at a time, its very easy! My designs tend to turn out very feminine and delicate looking, because I use lots of swirls and dots. I recommend looking at lots of examples on the internet and then deciding what type of design you like best. It's always easier to pull from somewhere else.


The eyes are just little half circles. I always do the dots last, sort of using them as fillers. 


The design in the top is one I use all the time because it's just the most simple. 


Small details add a lot to the finished project. 


Adding these dots everywhere makes the whole design look more detailed. It's an easy way to make simple designs look detailed. 


Down the middle of the face, create these dots. 


The teeth are my favorite. I like to do mine different sizes, I think it adds diversity to the face. Some designs I have seen show a smiling mouth, I usually do mine straight across so that all of the teeth line up alright. 


I mimicked the top design on the bottom and filled it in. You won't see the bottom design too well when the pumpkin is sitting upright, so I kept it pretty simple down here. 


Now make the opposite sides match. The face should be symmetrical but if it's not perfect it's not a huge deal. Mine never turn out perfect. 


Now just finish off with small details!! 


That's pretty much all there is to it! I love doing these designs, they're easy but still just artsy enough to look intricate! 


Thanks for reading! Don't forget to follow, share, like, and comment! 

Sunday, October 18, 2015

Homemade Iced Coffee

I have recently discovered the glory that is iced coffee. Frozen coffee drinks are great, but for me iced coffee is where it's at. It just so happens that the closest place to get iced coffee to my workplace is McDonalds, and they are not the most reliable in order accuracy. So here is my adaptation of making iced coffee at home.

You're going to start with a bag of ground coffee, pour it in a bin. I just used a medium plastic bin.


Now pour in two gallons of water. Cover and let steep for eight hours. 


NOW once the eight hours is up, grab another bin and place a small strainer. Place some paper towels (or cheesecloth) and start straining into the new bin. (This may take a while, good music helps)


After this is done, take the strained coffee and transfer to a pitcher and stick in the fridge. I had to use two because I used the whole coffee bag this time. Usually I make half and only have to use one.


Now onto making the drink. (The best part)

I like to start off with a little caramel syrup in the bottom, it adds a little bit of extra flavor. Then fill half of the glass with ice. 


Then fill it halfway with coffee, and the other half with milk, OR if you don't want to think about the calorie count you can use half and half. Either is good. Now add the desired amount of sugar. and stir :)


Now to top off this gift from the heavens, add some whipped cream and drizzle some extra sauce, and there ya go! This turned out a little better than the fast food version anyway. Let me know how it turned out for you! 


Thanks for reading! Don't forget to follow, comment, like and share! 

Friday, October 16, 2015

Rosy Skull Halloween Wreath

I love this wreath. I made this one for a friend who saw something like it, so I did some stuff of my own to make it special :).


This is the final project!


What you need:
  • Black wreath 
  • Fake roses
  • Skulls
  • Black glitter
  • Spray adhesive 
  • Hot glue & scissors 
First thing you'll need to do is pull all of the roses and leaves off of the stems. I only used the dark colored leaves from this bunch. Set the leaves aside, they will be last minute space fillers to do at the end. 

Take the black glitter and fill the bottom of a paper bowl with glitter. No need for a lot because you only want the tips of the roses to have glitter.


Spray the rose with the spray adhesive. The spray adhesive is VERY sticky, so be aware. Dip the rose barely into the glitter. Don't push it hard because again you just want the tips of the roses to have glitter on them. They will look something like this:


After dipping all of the roses set them aside to dry. Grab your wreath and start figuring out where you want the skulls to be. This is what I came up with: 


Glue them down well. It took me a good amount of glue to secure them, you'll have roses around their face in the end so don't worry about glopping the glue on. Once these are secure in place start arranging the roses. There is really no uniform way to do this, just start sticking them down and work from there. 


I started with arranging them around the skulls, once those are in place just start filling in the spaces! 


Now for the leaves. I didn't glitter dip these because I felt that would be too much. Once I put the leaves on I did go back with the hot glue and glue things to each other not just to the wreath. I sprayed the whole thing with hairspray to make sure the glitter would stay in place. And Voila! 


Thanks for reading! Happy Crafting! Don't forget to like, comment, follow, and share!