Wednesday, November 4, 2015

No-Bake Caramel Apple Snickers Pie

I saw this recipe on my "Yummy Things" Pinterest board from way back when. So I decided to give it a go, as always I did change a few things and put my own spin on it! According to my taste testers, it only made it better! I was a little worried about mixing Snickers and apples, but how can you go wrong with chocolate and caramel? This recipe was the perfect way to bring an end to that hot weather!! HELLO FALL!


What you will need:
  • 9 graham crackers 
  • Cinnamon ( 1/2 tbsp)
  • Butter (5 tbsp)
  • 2 apples
  • 1 bag of fun sized Snickers bars
  • Cream cheese ( 4 oz.)
  • Condensed milk ( 1/4 cup)
  • Cool whip (  2 1/2 cups)
  • Caramel syrup topping

Start off with making the crust. Since I have sworn off box mixes (I am testing myself) I made this crust from scratch, but I have nothing against the premade crusts or the pre mixed ones you just add butter to. For the homemade crust, I used my food processor to grind up the graham crackers. You could also put them in a ziploc and run over it with a glass or a rolling pin. But as a side note: if you don't have a food processor you should get one! Seriously, aside from the mixer its the best thing!! ANYWAY, after grinding the crackers, put them in a bowl with the melted butter and the cinnamon. I used a fork to mix it! 


This is about what it will look like when it is done! 

Now put the crust mixture into a pie pan. This measurement makes enough to fill a 9 inch pan with thin crust, I'm not a crust type of gal so I make my crust pretty thin. However if you're using a bigger pan or if you like your crust a little thick, you need to adjust the recipe! 
I know some people that like to use the bottom of a glass to smush their pie crust down, but that has never worked for me so I just wash my hands super well and use my fingers! 


Now put the crust in the fridge while you make the filling. Since this is a no-bake pie, it needs to chill before you start filling it. SIDE NOTE: This crust recipe will also work for baked pies!

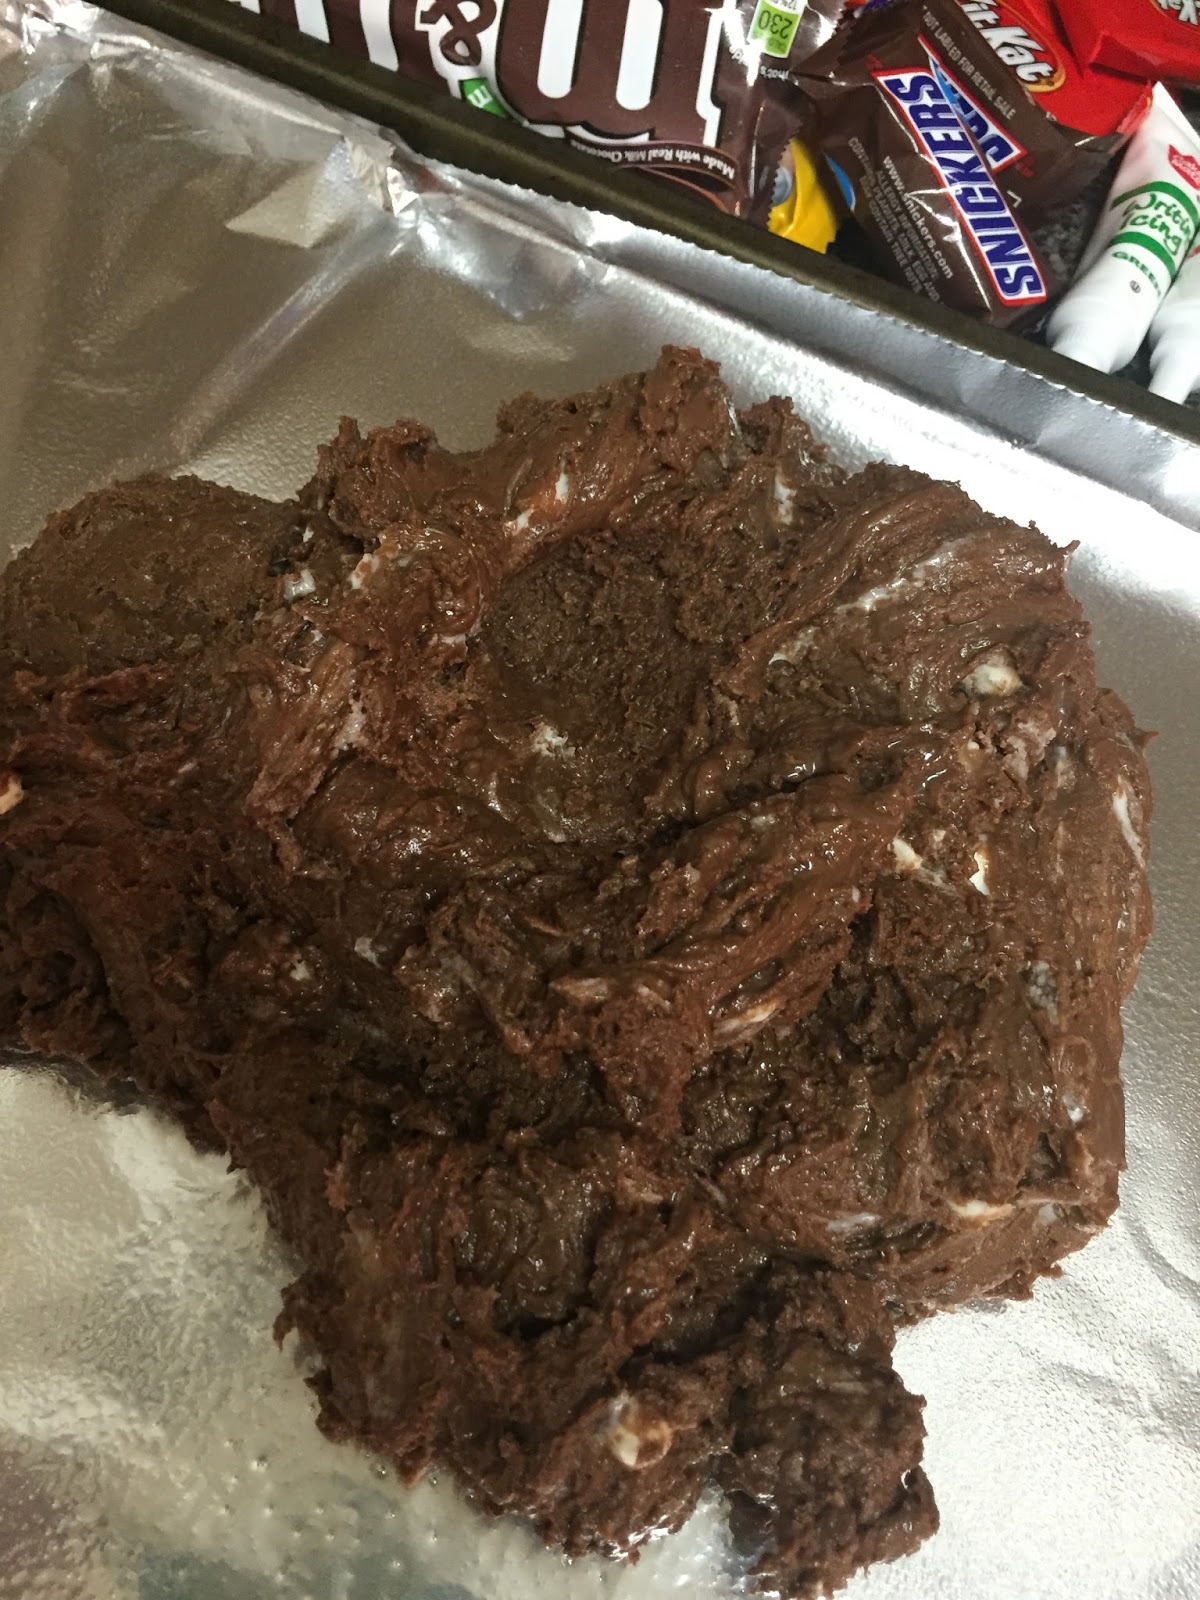
Now for the longest part of this recipe. You must unwrap and dice the snickers. I ended up dicing all but four of my Snickers and it was perfect, so you could probably do the whole bag and be fine. 
Once I diced my apples I spritzed some lemon juice on them because I wasn't serving this until the next day. If you're going to serve this pie same day then you can do without the lemon juice. 


Now pour one into the other (doesn't matter which) it's much easier to mix these with the fork before you put them into the crust. 


Once you've got the filling inside the crust, drizzle some caramel syrup on top!

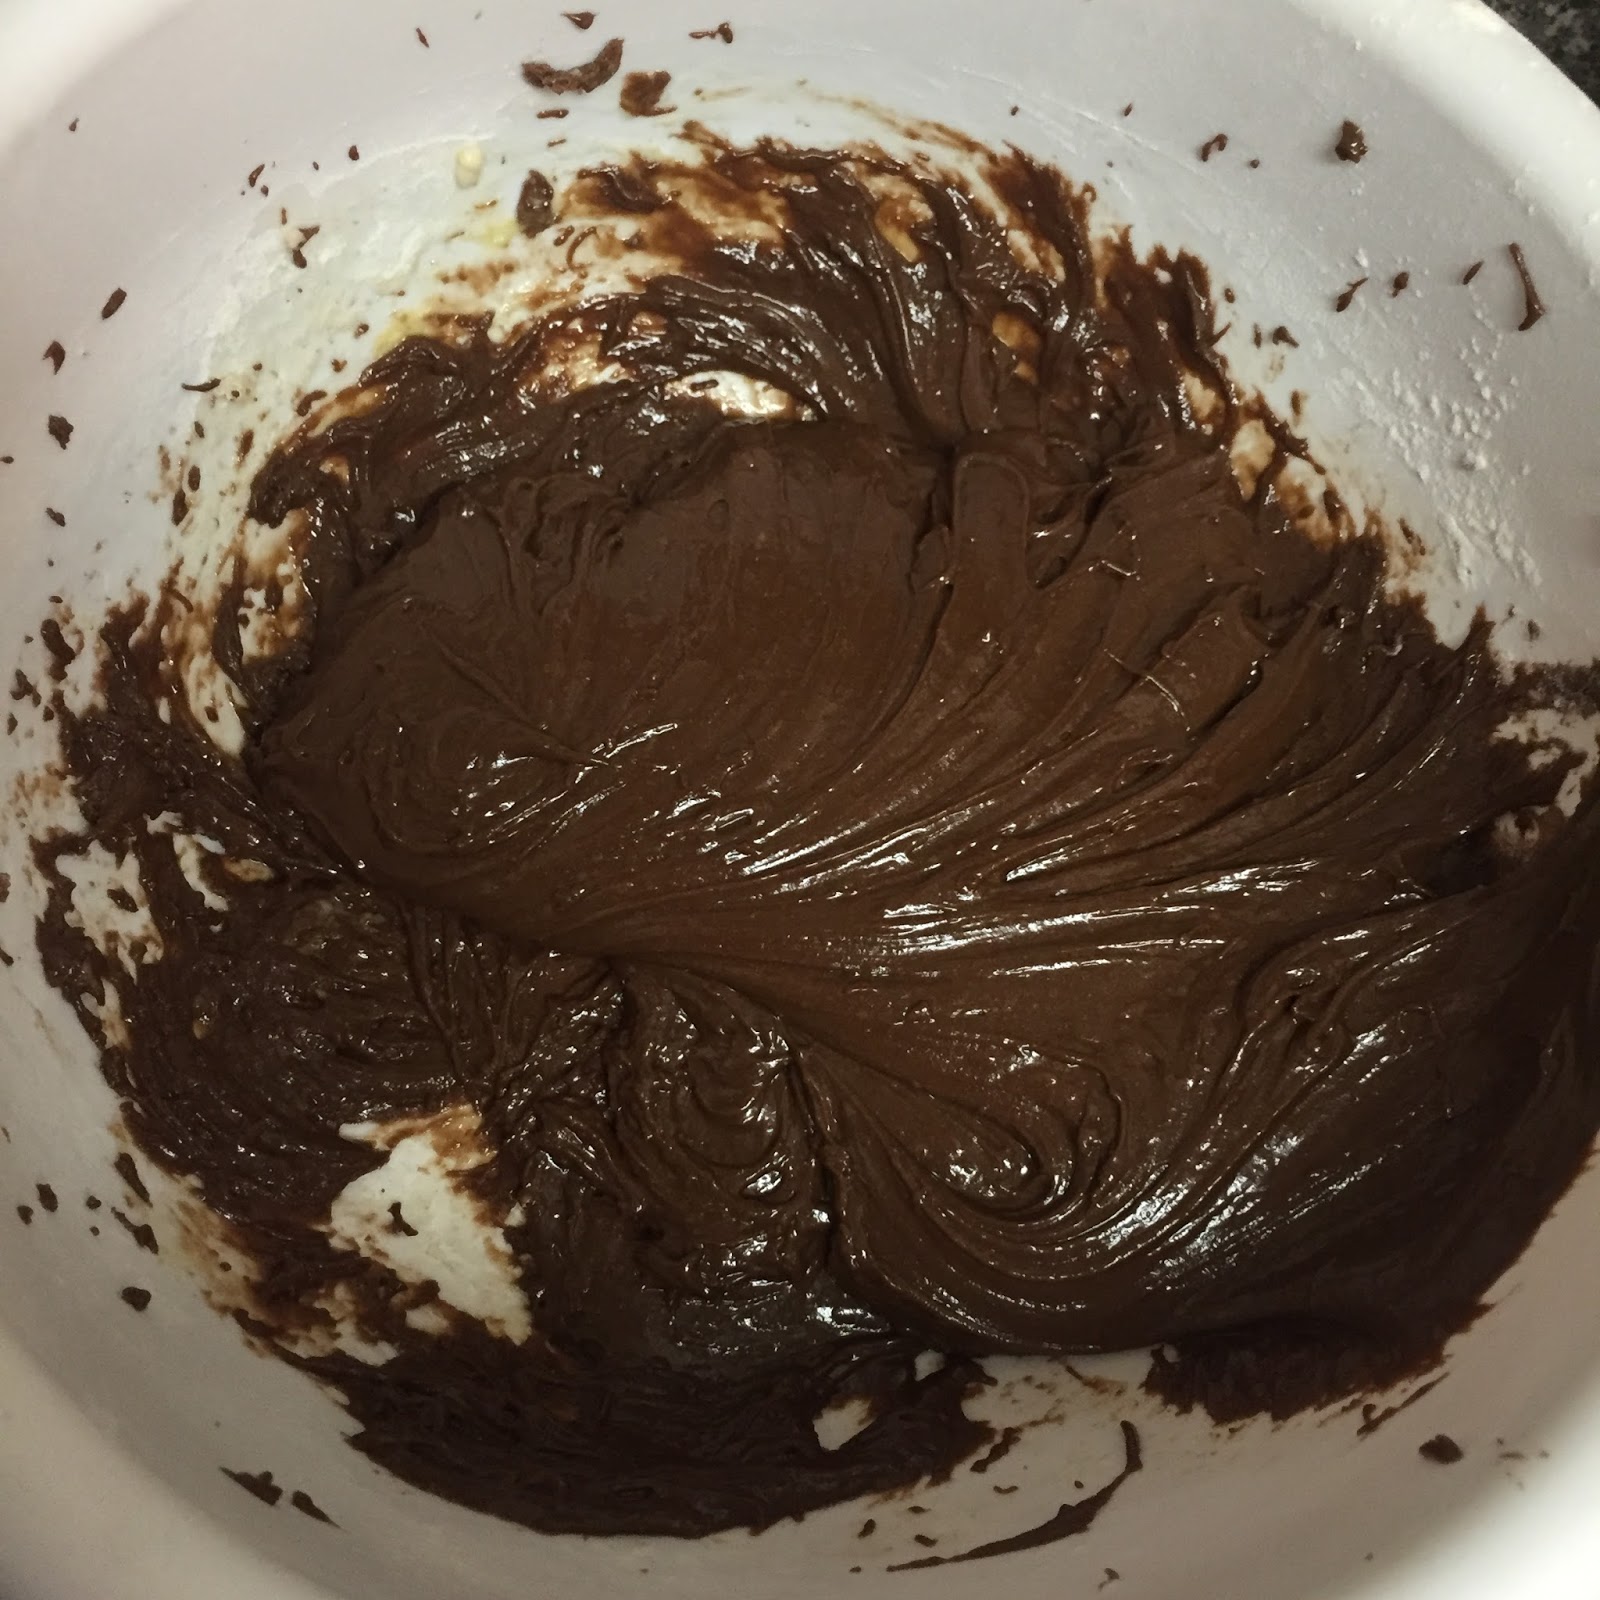
The whipped topping is the last thing to make, and its SO YUMMY

Melt down the cream cheese and them combine it with the condensed milk and the Cool Whip. I used an electric mixer for this, but you could just as well use a spatula! It is thick enough where it spreads on top of the apple Snickers filling very easily! 


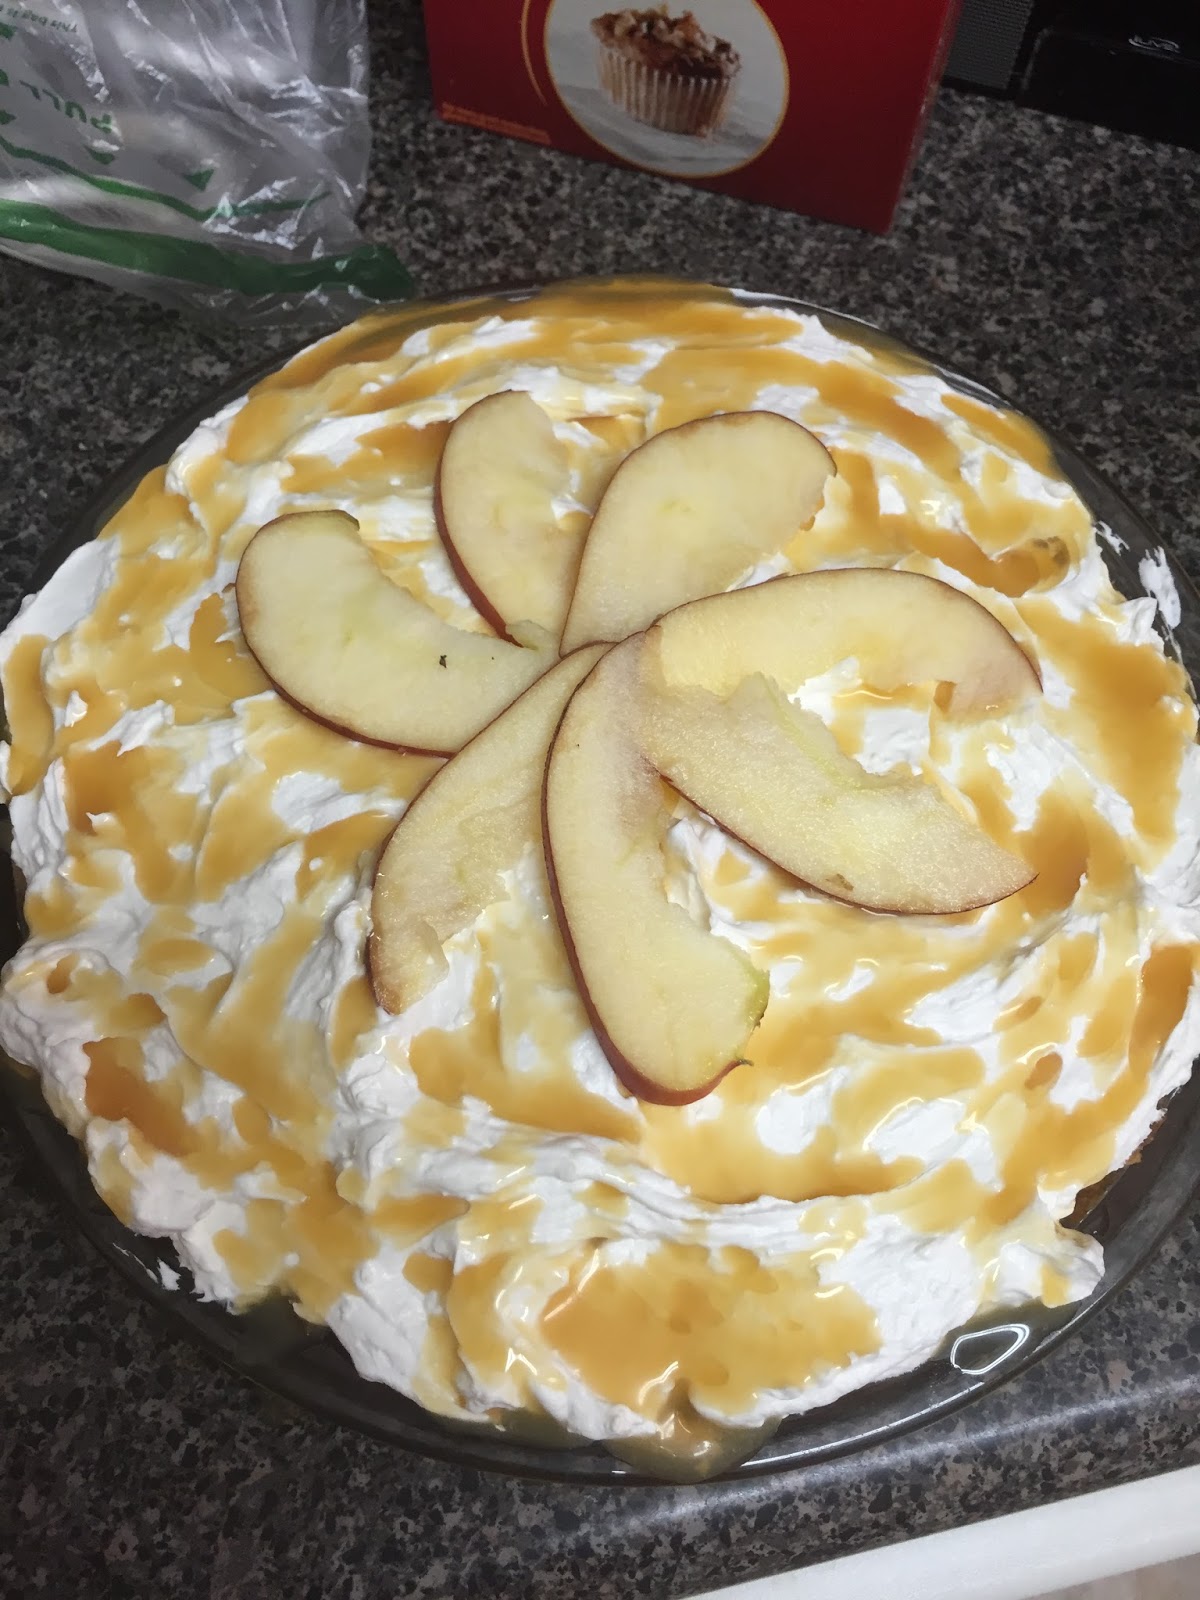
Now drizzle some caramel syrup on top and you are done! I did have an extra apple in the fridge so I sliced it up and used it as a little decoration but that is certainly not needed! 


Thanks for reading! Don't forget to follow, like, comment, and share! Have a fabulous day!!


Tuesday, November 3, 2015

Easy DIY Mason Jar Organizer

You can use mason jars for so many things. I already use them in my bathroom to hold my makeup brushes, and after seeing this organizer I thought it was perfect to make! This is what I ended up with in the end:


I am so happy with the end result! It was so easy to make! I have to be honest, I did outsource some of the work because I am not a drill kind of gal, but it was still fun to make! 


What you will need:
  • Wood - My piece was about 24 inches long
  • 4 hose clamps - you can find these in the plumbing section of home stores
  • Embellishments! 
  • 4 Mason jars


I painted my piece of wood instead of staining it, but this project would look just as good stained! I have seen it both ways and love it both! 

I looked at a few different ways to do this project and a few people said they made a hole in the metal and then again in the wood and then screwed it all together. I didn't have a drill at my disposal so I did have to out source this part of the project, but from what I saw its no easier than just screwing it all together at once. I did make sure that the screw to the clamps was on the front, I thought it added a nice look to it and you will also need to be able to tighten and loosen them to get the jars on and off! 


Use a flat head screw driver to tighten the clamps around the top of the jars so that they are very secure. 


After this put on the embellishments! I got mine from Michael's but I have seen many different variations of this project and they all look so cute! I just slapped them on with some hot glue.


That's it! I told you it was easy! To hang it I am going to use a picture hanging it on the back of the wood. You could also drill some holes on the ends and hang them by that. 


 I love this because you could literally use it for anything! I am going to make another one and use it for paint brushes and markers!! 


Thanks for reading! Don't forget to follow, like, share, and comment! 


Monday, November 2, 2015

Two Ten Minute One Stitch Projects

DIY 10 Minute Heating Pad

What you will need:

  • Fabric
  • Sewing Machine
  • Rice


These actually double as cold and hot pads. They hold heat a little better than cold, but they still work. I used charm squares for these, but you could use any size or shape you wanted!


These are charm squares. They're great for sewing projects because they are super cute and they come pre-coordinated and color matched! You can literally throw them together in any order and it will be cute no matter what. I use these for quilts, mug rugs, curling iron holders, EVERYTHING. Back to the heating pads. These come pre-cut on the outside with a pattern, so you don't have to worry about turning them inside out and doing anything too complicated. Just throw one continuous stitch around the outside, and leave a hole about an inch and a half wide on one side.


I fill my heating pads with rice, because they don't smell when you heat them up. I have seen some people use flax seed and corn, but when I experimented with them I did not notice a difference in how they held heat. Plus rice is the cheapest out of the three!! 

I filled it up a little over half way, so that I could still sew it together and so that it was still pretty flexible. 


After this, I sewed it close. I ran over the seams a few time so that after using it a few times no rice falls out! 


Now you're done! Microwave it for 30-45 seconds! I LOVE these! 


DIY 10 Minute T-Shirt Tote Bag

What you will need:
  • T - Shirt (or tank top)
  • Sewing Machine

I like these totes because they're durable enough to use, and if you use old t-shirts, you don't have to stress about getting them dirty! I use these for beach bags and keeping track of my library books!

I used a tank top for this one. But if you use a regular T-shirt, you will need to cut the sleeves off. Not too deep, but big enough to be comfortable handles! 


Next thing, cut the neck of the shirt for the top of the bag. I like mine pretty wide so that I can grab things out of it easily.


Turn the shirt inside out and decide how deep you want your bag. Then stitch the bottom of the shirt closed! I run the stitch over the ends a few times just to be safe! 


Once the stitch is done, trim the excess fabric leaving just a little bit left. 


Now turn the shirt right side out again and you're done! The best thing about making these bags is that they're MACHINE WASHABLE! So no worries if it gets filthy! 


Thanks for reading! Don't forget to follow, like, share and comment! 


Sunday, November 1, 2015

What To Do With That Leftover Halloween Candy!

This was almost as fun to make as it was to eat! I have been looking for a recipe to do for Halloween all October, and found a lot of people making candy bark for Halloween parties. Well then I thought, why not use all that leftover Halloween candy to make the same thing? So here goes! I changed it up a little bit, let me know how it works out for you!


Oh my at that mountain of chocolaty goodness. 

What you will need:
  • Milk chocolate chips-2 cups
  • White chocolate chips-1 cup 
  • Sweetened condensed milk-2/3 can
  • Halloween candy 
  • Icing ( If desired )
  • Sprinkles ( If desired )

This starts out like the microwave fudge recipe I posted a few weeks ago (see blog archive on the right side of the page). Start off with two cups of milk chocolate chips and one cup of white chocolate chips. 


Add 2/3 can of the condensed milk I decided to add the condensed milk because it makes the frozen chocolate a little bit softer than if you didn't use it at all. You can do without it (still microwave the chocolate for one minute) it just makes the chocolate a little harder once it's frozen. 


Microwave it for one minute and stir. It will get thick and hard to stir. I left the white chocolate swirls in the chocolate because I liked how it looked, but feel free to do your own thing :). 


Use a spoon and put the chocolate mixture on to a cookie sheet sprayed with Pam. with the backside of the spoon, flatten it out over the cookie sheet. 


Now for the candy!! I ended up cutting the candy bars into smaller pieces, and the M&Ms of course I left whole. 


Push them deep enough to stick into the chocolate but not so deep that the candy touches the bottom. For the icing topping I used writing icing and swirled it all over the place, in no certain order. 


After the icing, slap some sprinkles on that puppy and stick it in the freezer for an hour. You want to make sure the chocolate sheet is very firm so you can cut and break it into pieces. 


After the chocolate is firm, the last thing to do break it into pieces. I used a pizza cutter and my hands and broke t up in sections. After the whole sheet is broken up, I put the pieces into the freezer for another thirty minutes to make sure they were as hard as they could get! 


Holy Halloween candy. Could this get anymore amazing looking? 


Feast your eyes. This was so good, I might not even need the excuse of extra candy to make it. Enjoy! 


Thanks for reading! Don't forget to follow, like, share and comment! 

Wednesday, October 28, 2015

Nutella Cheesecake Swirled Brownies

Who doesn't love brownies? I do, but as lately I am trying to stay away from box mixes, I decided to really experiment tonight. The box mix of this recipe is a favorite of mine, so tonight I am giving it a whirl to see if I can make it from scratch! Let me tell you right now, it was worth it. This will absolutely be a go to recipe for me!


What you will need:
Brownies:

  • 1 small container of Nutella
  • 2 eggs
  • 1 cup flour
Filling:
  • 1 8oz pack of cream cheese
  • 1 egg 
  • 1/2 cup sugar

Preheat the oven to 350 degrees. I went ahead and greased my pan so that I could pour the brownies straight into the pan. Put all of the ingredients for the brownies into the bowl and use an electric mixer to mix them until there are no lumps. The Nutella is very thick, so I would recommend using a mixer with this. 


TaDa! Homemade Nutella brownie mix! 


Now set this aside and start in on the cheesecake mix. Stick the cream cheese in the microwave for about a minute to soften it up. Then separate your egg yolk from your egg white. The easy way to do this is with a water bottle, like so:


Squeeze the bottle GENTLY and when you lift it up, wait for the egg white to fall out by itself. 

Put the yolk in with the cream cheese and mix it until smooth. 


Now mix the sugar in with the cream cheese and egg yolk. Whip the egg white with a fork until it thickens and gets bubbles. 


Now with the fork, gently stir the egg white in with the cheesecake mixture. Take your time on this, if you do it too fast the mixture won't be as fluffy I found. 


Now for the fun part. This is personally my favorite. Spoon the cheesecake mix on top of the brownies- no need to try and make it neat and pretty. 


With a knife, swirl the cheesecake mix around gently. I have fun with this part :). It will look something like this when you're done:


Bake in the oven at 350 degrees for 15-20 minutes, depending on how gooey you want your brownies. (Personally I like my brownies soft and gooey) Let them cool completely before cutting and serving so that the cheesecake doesn't crumble. 


Thanks for reading! Don't forget to follow, comment, like and share!